Showing posts with label Customized Mega Bloks Action Figures. Show all posts

Wednesday, July 29, 2015

Mega Bloks Past sample custom figures

Here are some past examples of customs I'm proud of.

General Grievous: Took a head from an Attacktix figure, used elite body, drilled and put in super poseable arms, used jackal legs and made fabric cape. Lighting effects at no extra charge :-)

Spawn: Spiderman base, sculpted armour with toothpick spikes, cape was stolen from some other poor figure.

Kratos: Venom body with pirate head, iron man lower legs, fabric painted for kilt, Brickarms shoulder pad and sculpted armour.

Monday, July 27, 2015

eBay Advertisements for Mega Bloks

Here are two advertisements I designed for personal sales use on eBay. These are to mimic the Mega Bloks packaging design scheme with the blue background and grid lines. Figures were made my me as well.


Arkham Red Hood Mega Bloks

Another Arkham character. This has a flame marine head with AC hood. Captain America parts. Fabric jacket.

Monday, July 1, 2013

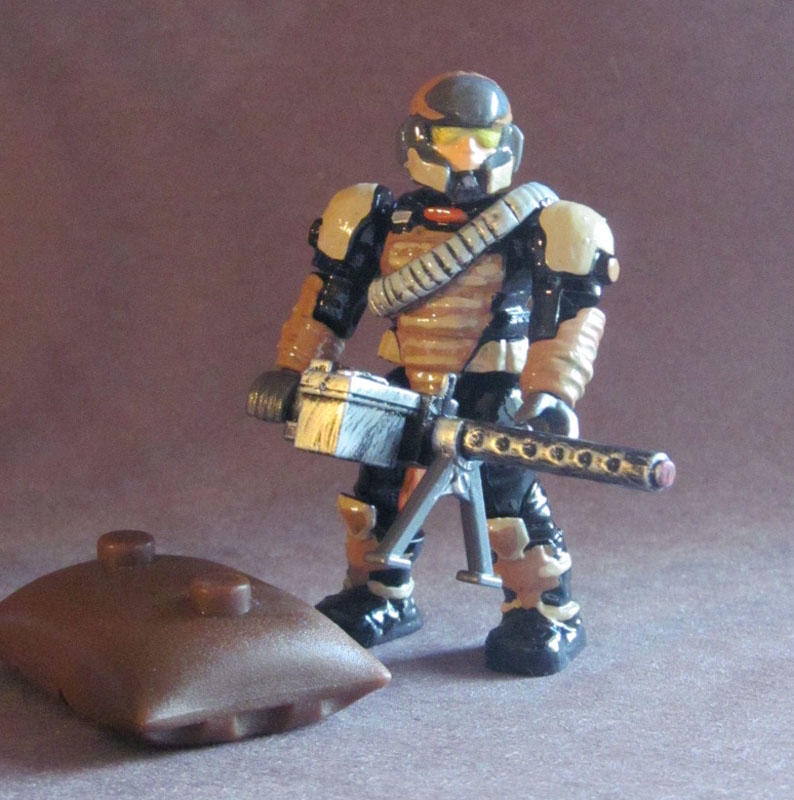
Halo 4 Desert Marine

Used a two part epoxy to create a bandolier. Then repainted the figure to match the desert marine look. Added heavy duty machine gun to finish the look!

Monday, May 20, 2013

Marvel Gambit Custom

Marvel Gambit, Rorschach and Abomination done...
http://www.spartanbloks.com/forums/showthread.php/more-marvel-stuff-5853/index.html

Gambit is a Havok head, sculpted hair, painted eyes. Halo pilot arms, Spiderman upper legs, Ironman lower legs. Halo Hazop hips, Spiderman torso with sculpted edge around collar. Spray all black then dark grey boots, red highlights. Jacket is a cloth napkin cut to fit!

Saturday, February 25, 2012

Fixing Mega Bloks broken neck post

I have done this with a neck post and an arm post, here's what I do:

1. cut neck post all the way down flush.
2. drill small hole into neck, find small very small screw.
3. fill head hole with putty or magic sculpt, something that will harden.
4. stick screw head into putty in hole and smooth putty around screw head.
5. wait to harden.
6. turn head w/ screw around into hole in neck area.

this will give the appearance of a normal neck, with right/left movement.

Friday, August 19, 2011

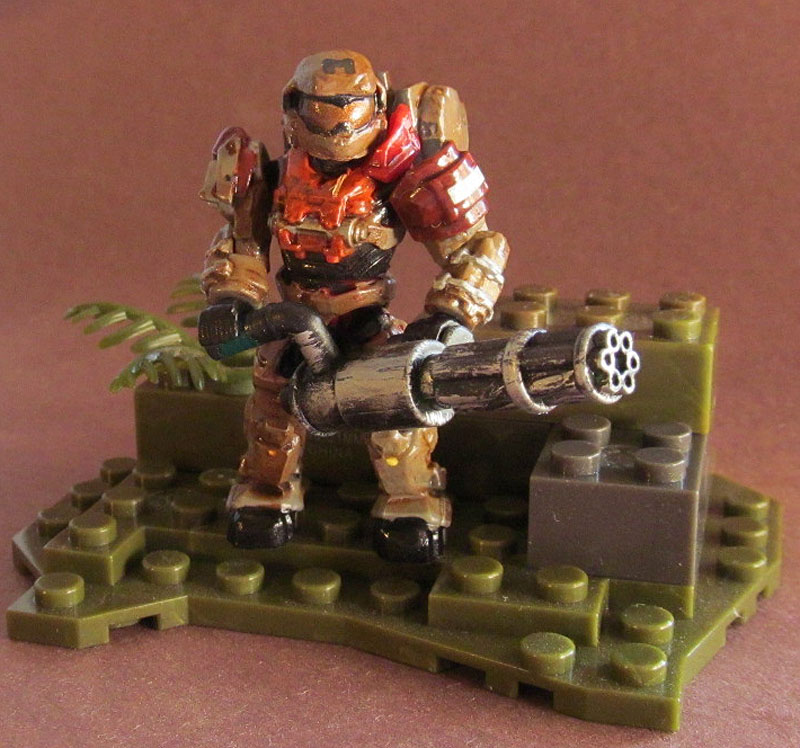
Mega Bloks Customizing - Grunt Ultra


Mega Bloks Customizing - Camo Shrug


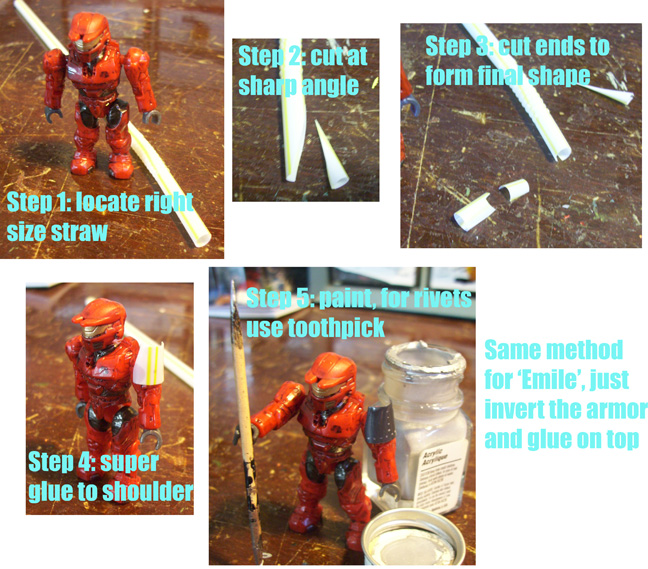
Mega Bloks Customizing - Shoulder Armor Mod


Mega Bloks Customizing - Painting

I've seen lots of folks (beginners) try to hand paint a base color. This turns out blobby and icky. I recommend if you can afford it to buy a can of $3 black flat spray paint from a hardware store. Spray the fig just enough to cover it, not 'blobby' or heavy. Wait overnight to dry. Then hand paint your secondary color (purple). Leave some crevaces and joints black to allow the 2 tone to work. Also, try to follow the lines of the armor to keep your edges straight.

You pay more for less of the hobby brands paints.

I started w/ enamel paints, they are nice because 1 coat will do the job. But you cant mix them easily for new colors. Acrylic is what i use now, can get bigger bottles for less, then mix colors easily, and cleans easy.

NOW: Read this, GamesWorkshop book on painting 101, and even new stuff for a more advanced painter. Caution: Large file to download (but well worth it if you are interested in painting).

Mega Bloks Customizing - Sanding

Generally sanding is not necessary for a repaint. If your paint isn't sticking wash the bare fig in soapy water to remove plastic oils.

I have seen some great sanding to increase joint movement.

1. sand a notch in the back of the head near the joint hole to allow head to move upward more.

2. sand back of calves for better squat position

3. sand inside of elbow to allow tighter squeeze of arm while bent.

Of course same thing applies for elites, just in different ways.